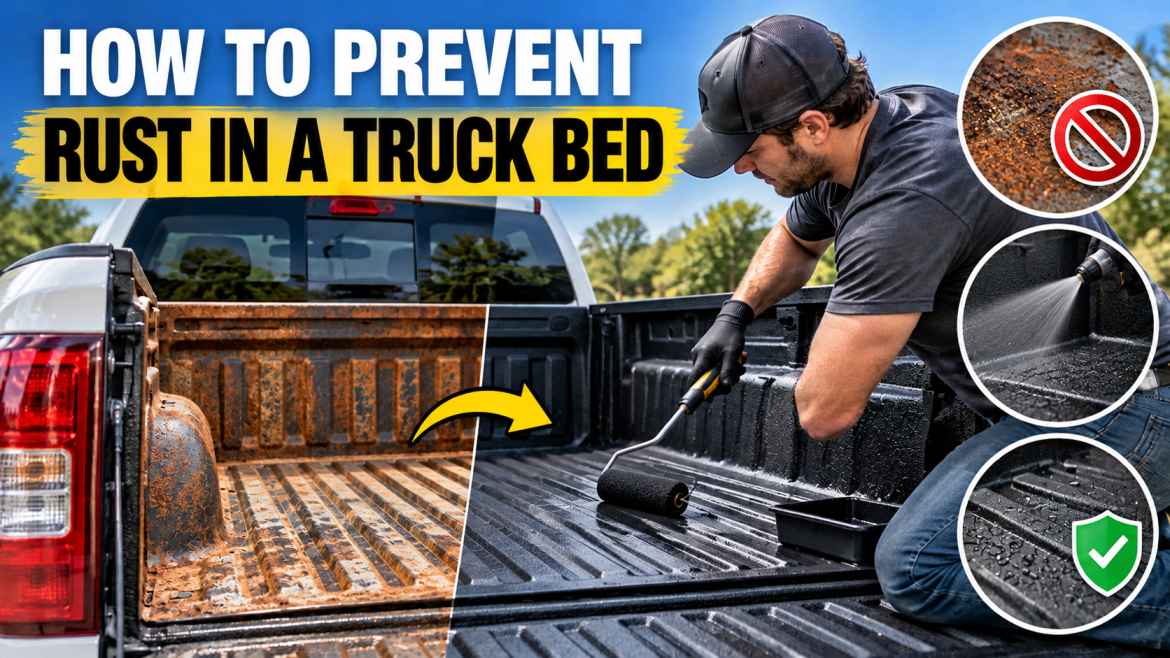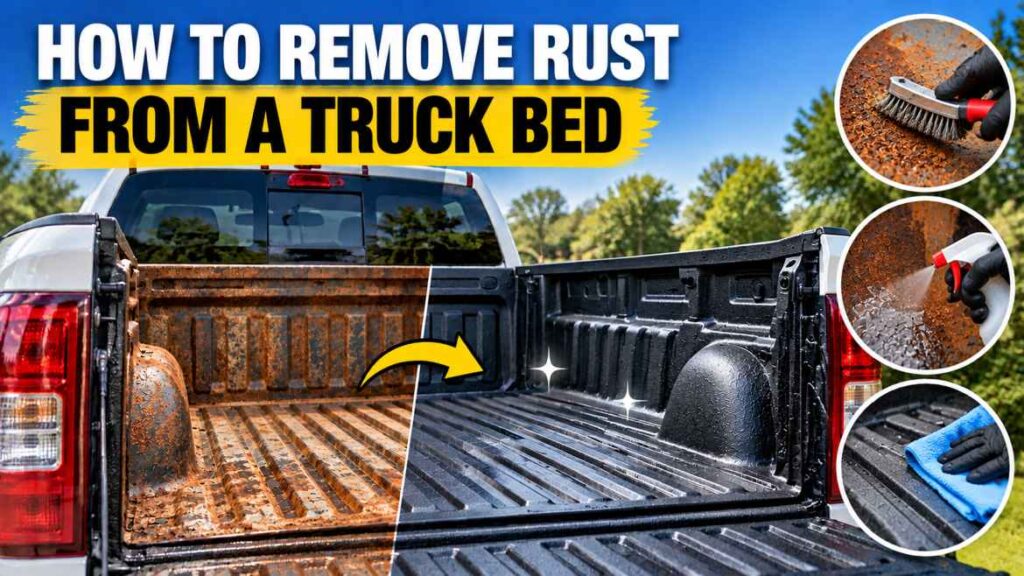
Rust on a truck bed should be addressed according to how far the corrosion has progressed. Light surface rust can sometimes be handled as a DIY repair, while bubbling paint, deep pitting, perforation or weakened metal may require bodywork and welding.
The important mistake to avoid is treating rust as a cosmetic stain. If corrosion has started underneath the paint, simply sanding the visible orange area and covering it may leave active corrosion behind.
Quick Answer
To remove rust from a truck bed, clean and dry the area, remove loose paint and corrosion, assess the remaining metal, treat or prime the prepared surface with a compatible rust-control system, and restore the protective finish. If the metal is deeply pitted, perforated or structurally damaged, stop the DIY process and have the bed professionally repaired.
First: Identify the Severity
| Condition | Typical appearance | DIY outlook |
|---|---|---|
| Light surface rust | Thin orange/brown discoloration | Often manageable with careful preparation |
| Pitting | Small craters remain after loose rust is removed | Possible, depending on depth and location |
| Flaking/bubbling | Coating lifting around corrosion | Requires more extensive preparation |
| Perforation | Actual holes or very thin metal | Professional metal repair recommended |
Tools and Materials
- Automotive-safe cleaner and degreaser
- Wire brush, abrasive pad or suitable sanding equipment
- Clean cloths
- Rust-treatment or primer system compatible with the repair
- Automotive paint or protective coating appropriate to the repaired surface
- Gloves and eye protection
- Respiratory protection appropriate for sanding and coating products
Step 1: Empty and Clean the Bed
Remove all cargo and accessories around the affected area. Wash away dirt and loose debris, then degrease the surface. Rust removal works poorly when grease and road film remain on the metal.
Let the area dry completely before sanding or applying a coating.
Step 2: Remove Loose Rust and Paint
Use a wire brush, abrasive pad or sanding method appropriate for the condition. The objective is to remove loose corrosion and failing coating while exposing a stable surface.
Do not keep grinding indefinitely just to make every dark mark disappear. Some rust-control products are designed for properly prepared stable rust, while others require clean or bare metal. The correct endpoint depends on the product you plan to use.
For example, POR-15’s published process calls for removing loose rust and degreasing first, followed by a metal-preparation step and then the rust-preventive coating.
Step 3: Inspect the Metal After Preparation
This is where you decide whether the repair is still cosmetic. Look for pinholes, deep pits, soft metal, cracks and areas that are significantly thinner than the surrounding steel.
If you uncover holes or structural damage, a coating cannot restore the missing metal. Stop and get a qualified body repair professional to assess it.
Step 4: Clean Away Dust and Residue
After sanding, remove all dust and residue using the cleaning method recommended by the coating system. Do not touch the prepared surface with dirty or oily hands immediately before coating.
Step 5: Apply the Rust Treatment or Primer
Use a system designed for the type of surface you prepared. Some products are intended for bare metal, while others are specifically formulated for stable rust. Do not assume one primer works for every substrate or topcoat.
Follow the stated coverage, drying and recoat requirements. POR-15, for example, specifies a three-step clean, prep and coat process and recommends a UV-protective topcoat for areas exposed to sunlight.
Step 6: Restore the Protective Finish
The repaired area needs a durable protective finish compatible with the underlying treatment. If the repair is inside a bed that will receive a new liner, make sure the liner manufacturer permits application over the repaired substrate and specifies the required preparation.
Do not rush to cover the repair simply because the rust is no longer visible. The underlying coating system needs to cure as directed.
Rust Removal When a Bed Liner Is Present
If the bed has a spray-in or drop-in liner, determine whether the corrosion is on top of the liner, underneath it, or on exposed metal around its edges. A removable liner may need to come out so the underlying bed can be inspected.
For severe corrosion hidden beneath a liner, repair the metal problem rather than sealing it out of sight.
When You Should Not Remove Rust Yourself
- The bed has holes from corrosion
- Metal is visibly thin or weak
- Rust extends through seams or structural supports
- The corrosion is widespread
- You cannot determine whether the bed remains structurally sound
A professional can determine whether the repair requires cutting out damaged steel, welding, panel replacement or other bodywork.
What Not to Do
- Do not paint directly over loose flaky rust.
- Do not trap moisture under a new coating.
- Do not mix incompatible chemical systems.
- Do not use an aggressive grinder without protecting yourself and the vehicle.
- Do not treat a rust hole as if it were only a paint defect.
How to Keep Rust From Coming Back
After the repair, prevent the conditions that caused it. Keep the bed clean, rinse salt away, repair new scratches, keep drains open and inspect under removable accessories. Regular cleaning and inspection of pickup-box panels and maintaining protective paint or coating can help limit recurring corrosion.
Our truck-bed rust prevention guide covers the ongoing maintenance side in more detail.
FAQ
Can I remove surface rust without sanding to bare metal?
Sometimes. The correct preparation depends on the rust-treatment or coating system. Some products are designed for stable rust; others require clean metal.
Can I put bedliner over rust?
Only when the specific liner system permits that substrate and the rust has been prepared according to its instructions. Never use a liner to hide loose or structurally significant corrosion.
When is rust too bad for DIY repair?
Holes, severely thinned metal, extensive pitting and structural corrosion are good reasons to have the bed assessed professionally.
How to Tell if the Rust Is Actually Gone
The visual color of the surface is not the only test. After loose corrosion and paint are removed, inspect the metal for pits, pinholes and areas that feel or look substantially thinner. Rust can extend beyond the obvious orange area, especially around seams and beneath bubbling paint.
If the repair system is designed to work over stable rust, follow its preparation requirements rather than trying to create bare metal unnecessarily. Product instructions may separate cleaning, metal preparation and coating into distinct steps.
Should You Use a Wire Brush, Sandpaper or a Grinder?
Use the least aggressive method that can reliably remove loose material and prepare the surface. A wire brush or abrasive pad may be enough for light corrosion. Heavier corrosion may require mechanical sanding or other equipment. A grinder can remove material quickly, but it can also remove good metal or create heat if used carelessly.
Protect yourself from dust, sparks and chemical exposure, and protect the surrounding vehicle from debris. Follow the safety requirements for the equipment and coating system.
Rust Removal Near Seams and Corners
Seams deserve extra attention because corrosion can begin where moisture and dirt collect. Clean these areas thoroughly and inspect them after the visible rust is removed. If corrosion appears to continue beneath a seam or into inaccessible metal, professional inspection is preferable to sealing the area blindly.
When a Bedliner Is the Next Step
A repaired bed can sometimes receive a new liner, but the liner manufacturer should specify the acceptable substrate and preparation. A rust repair that is not fully cured or is chemically incompatible with the new coating can cause adhesion problems later.
If the bed has severe corrosion, consider the metal repair and coating system as one project. The objective is to restore sound metal and then protect it, not simply to hide the corrosion under a thicker surface.
How to Reduce the Chance of Recurrence
After the repair, keep the bed clean and dry, remove road salt, repair new scratches promptly, keep drains open and inspect underneath removable accessories. Our guide to preventing rust in a truck bed covers these maintenance steps in more detail.
Aftercare Matters as Much as Rust Removal
A successful repair should leave the bed with a sound protective system, not simply a cleaner-looking patch. Keep the repaired area clean, avoid damaging the new finish, and inspect it after the truck has returned to normal use.
Do Not Confuse Surface Rust With Structural Corrosion
Surface discoloration is very different from metal that has lost thickness. If a screwdriver, pick or other inspection reveals unexpectedly weak metal, stop treating the job as a simple refinishing project. Structural condition should be assessed before a coating is applied.
Bottom Line
Removing rust from a truck bed is less about making the orange color disappear and more about creating a stable surface that can be protected again. Clean thoroughly, remove unstable corrosion, inspect the metal honestly, use a compatible treatment system, and stop for professional repair when the steel itself has been compromised.