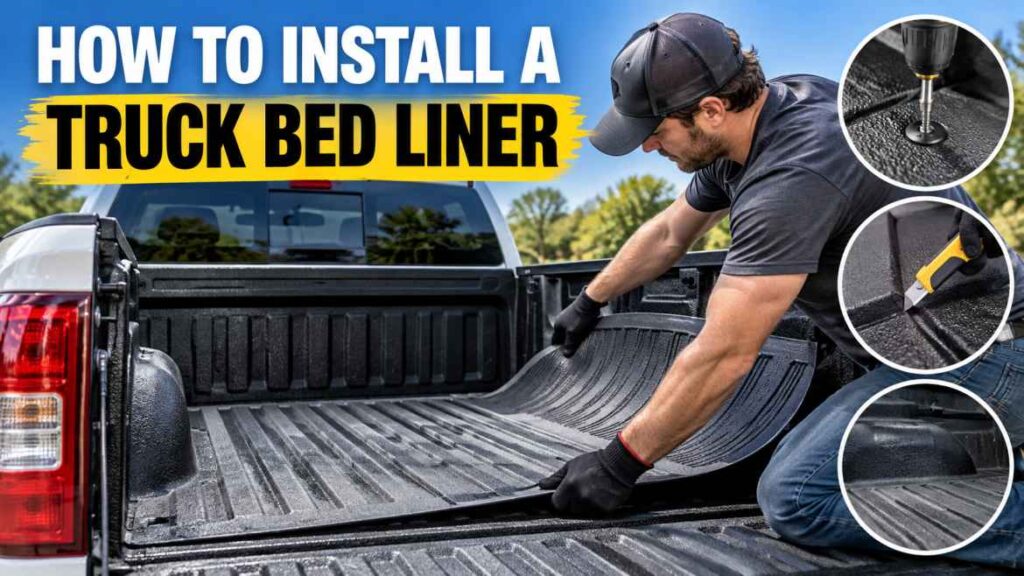
Installing a truck bed liner can protect the bed from scratches, abrasion, moisture, and the everyday damage caused by hauling. The correct installation process depends on the type of liner, but preparation is the part that matters most. A coating applied over grease, loose rust, wax, or poorly prepared paint may not bond properly.
This guide explains a practical installation process for DIY truck bed liners, with separate notes for spray-on and roll-on coatings. Always follow the instructions supplied with the specific product because preparation, mixing, application thickness, drying time, and temperature requirements vary.
Quick Answer
To install a truck bed liner, first remove the cargo and hardware, wash and degrease the bed, remove rust and loose coating, scuff the surface as required, mask areas that should not be coated, and allow the bed to dry completely. Apply the liner according to the manufacturer’s instructions, usually in controlled coats, then allow the specified cure time before loading cargo.
Before You Start: Identify the Liner Type
Not every truck bed liner is installed the same way. Drop-in plastic liners are fitted into the bed rather than painted on. Spray-in and roll-on coatings require surface preparation and application technique. Some DIY coatings are designed for a roller, while others require a spray gun or supplied applicator.
| Liner type | Typical installation approach | Main concern |
|---|---|---|
| Drop-in | Position and secure the molded liner | Correct vehicle and bed-length fit |
| Roll-on coating | Prepare, mask, mix and roll the coating | Surface preparation and even coverage |
| DIY spray-on | Prepare, mask and spray multiple coats | Equipment, ventilation and application technique |
| Professional spray-in | Installer prepares and sprays the bed | Installer quality and product specification |
Tools and Materials You May Need
- Automotive-safe cleaner or degreaser
- Water and clean towels
- Sandpaper or abrasive pads recommended by the liner manufacturer
- Rust-removal tools if corrosion is present
- Masking tape and masking material
- Protective gloves, eye protection and suitable respiratory protection for the product
- The liner kit and its specified applicator
- Mixing containers or measuring tools if required
Do not substitute random solvents or cleaners simply because they are available. Chemical compatibility matters, particularly when the product is designed to bond to prepared paint or bare metal.
Step 1: Empty and Inspect the Truck Bed
Remove cargo, mats, tie-down accessories and anything else that interferes with the bed floor or sidewalls. Inspect the entire bed for dents, damaged paint, loose coating, seams, rust, holes and areas where water may collect.
Small surface imperfections can often be addressed during preparation. Significant corrosion, perforation, structural damage or a badly damaged bed should be evaluated before coating. A liner is not a substitute for repairing weakened metal.
Step 2: Clean and Degrease the Bed
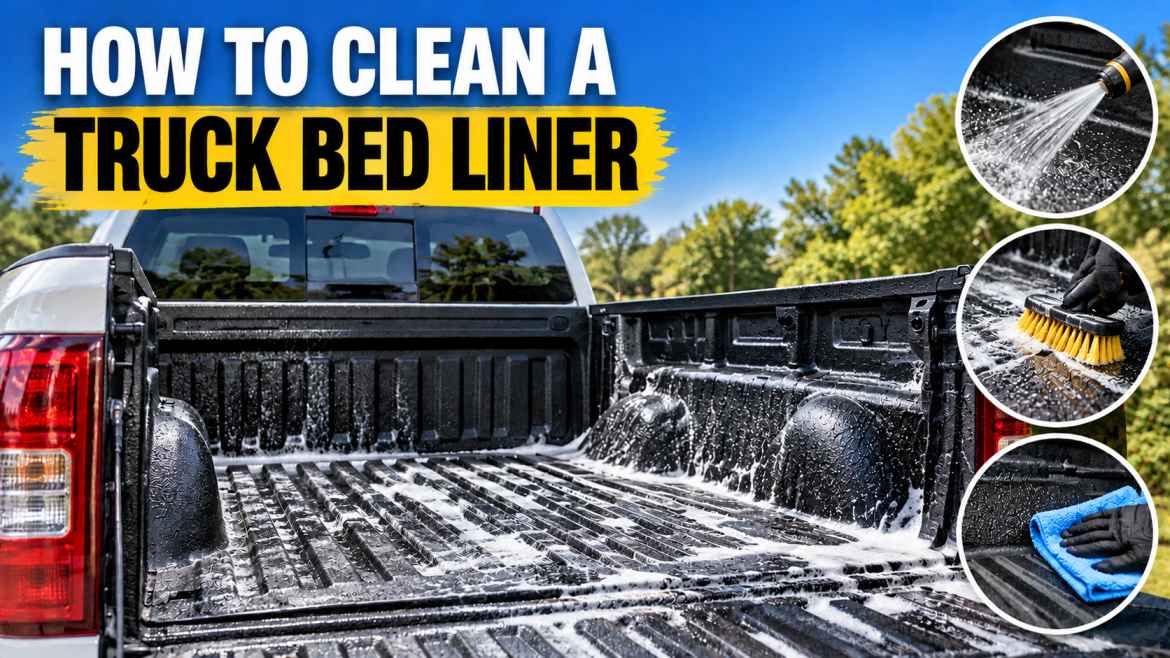
Wash away dirt and loose debris first. Then degrease the bed using the cleaner specified by the liner manufacturer. Oil, wax, silicone and road film can prevent adhesion even when the surface looks clean.
Rinse thoroughly when the product instructions call for it and allow the bed to dry completely. Pay particular attention to seams, corners and drain areas.
Step 3: Remove Rust and Loose Coating
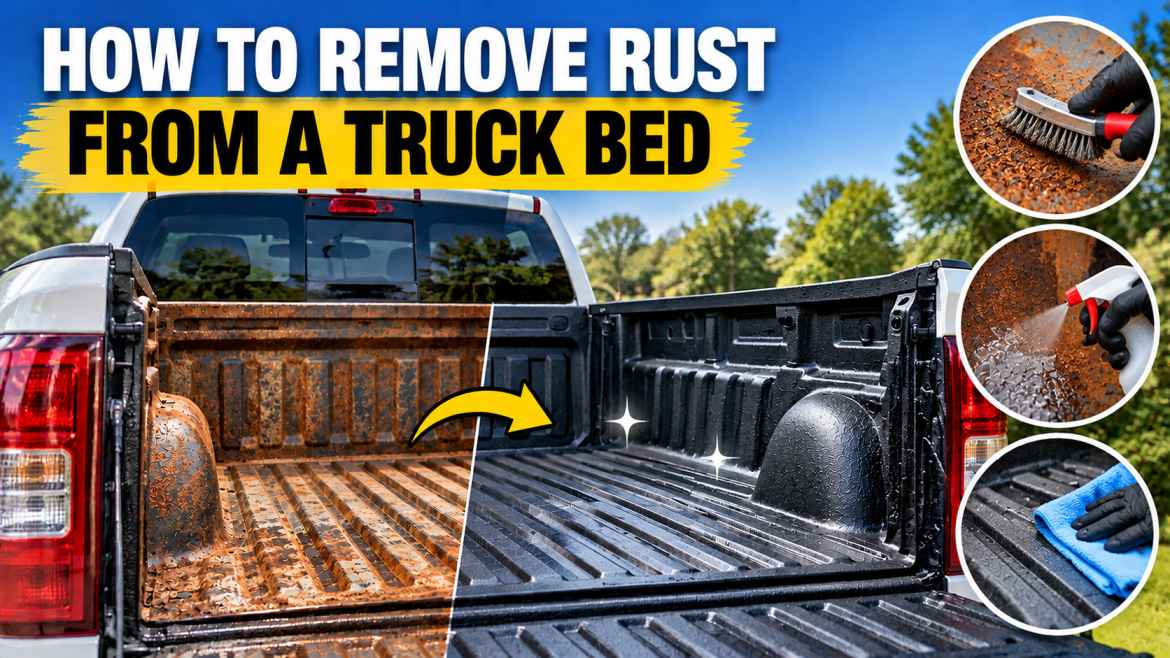
Do not simply cover active rust with a new liner unless the product specifically permits that preparation. Remove loose rust and failing paint and repair corrosion according to the coating manufacturer’s instructions. If rust has created holes or significant metal loss, repair the metal before continuing.
Step 4: Scuff the Surface
Many DIY liners require the existing painted surface to be mechanically scuffed so the new coating can grip it. Use the abrasive grade and preparation method specified by the product. The objective is a uniformly prepared surface, not unnecessarily aggressive sanding.
After sanding or scuffing, remove all dust and clean the bed again. A clean surface that has not been allowed to dry fully can still cause adhesion problems.
Step 5: Mask Everything You Do Not Want Coated
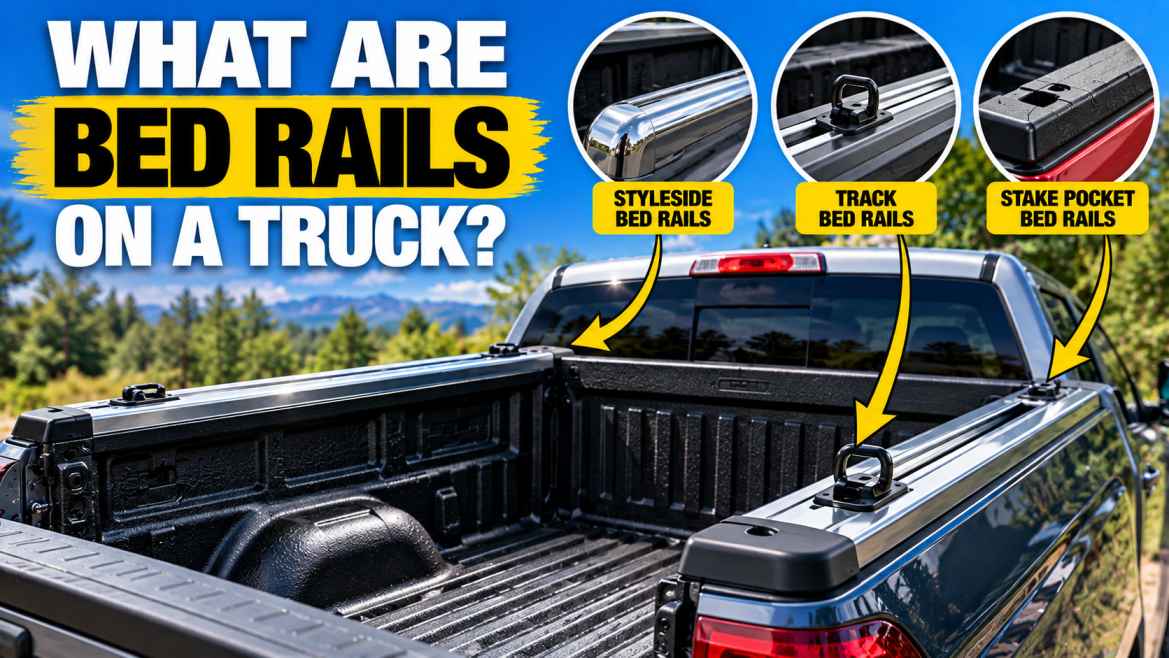
Mask bed rails, stake pockets, drain plugs, tailgate mechanisms, wiring, exterior paint and other areas that should remain uncoated. Take time here. Overspray and roller splatter are much easier to prevent than remove.
Protect the surrounding vehicle and work in a well-ventilated area appropriate for the product. Follow the product’s safety data and application instructions.
Step 6: Mix and Apply the Liner
Mix only as directed. Some products have separate components or specific mixing ratios, while others are ready to use after thorough stirring. Do not guess at ratios or thin the material unless the manufacturer specifically permits it.
Apply the first coat evenly and avoid creating heavy puddles in corners. Work methodically so the texture and coverage remain consistent. For a roll-on product, use the supplied or recommended roller and maintain a wet edge where the instructions call for one.
DIY spray products can require different nozzle settings, air pressure and spraying distances. Follow the supplied instructions instead of copying settings from a different coating.
Step 7: Apply Additional Coats
Many bedliner systems require more than one coat. Respect the specified recoat window. Applying the next coat too early or waiting beyond the allowed window without additional preparation can affect the final bond.
Check corners, sidewalls, tailgate areas and other difficult sections before moving on. Uneven coverage is much harder to correct after the coating has cured.
Step 8: Let the Liner Cure
Do not judge readiness by the surface feeling dry to the touch. Curing and drying are not always the same thing. Keep cargo out of the bed until the product’s stated cure or return-to-service time has passed.
Temperature and humidity can affect curing. If conditions are outside the manufacturer’s recommended range, wait for suitable conditions rather than trying to accelerate the process with improvised heat.
Final Inspection Before Using the Bed
Inspect the coating in good light. Look for missed areas, thin spots, exposed metal, runs, trapped debris and coating around drain openings that could interfere with drainage. Check that all masking has been removed without damaging the new surface.
Common Installation Mistakes
- Coating over grease or silicone contamination
- Skipping mechanical surface preparation when required
- Applying over active or severe corrosion
- Ignoring the product’s temperature and humidity limits
- Guessing at mixing ratios or thinning requirements
- Loading cargo before the stated cure time
- Blocking drain holes with coating or masking residue
When Professional Installation Makes More Sense
Professional installation is worth considering when the bed has substantial corrosion or damage, when the coating requires specialized spray equipment, or when you want a professionally applied system with a product-specific warranty. Installation requirements can also vary by product and vehicle, so the instructions supplied with your specific liner should take priority over generic advice.
How This Relates to Other Bed Protection Options
If you are still deciding what type of protection your truck needs, see our truck bed liner guide for the basic differences between liner types. For product selection, our best truck bed liners guide covers the commercial side separately.
FAQ
Can I install a truck bed liner over painted metal?
Often yes, provided the product is designed for that substrate and the paint is sound and properly prepared. Follow the product’s surface-preparation instructions.
Do I need to remove all rust first?
Loose and unstable corrosion should not simply be hidden under a coating. Stable-rust applications exist, but they are product-specific. Follow the coating manufacturer’s instructions.
How long should I wait before hauling cargo?
Use the manufacturer’s stated return-to-service or cure time. It can vary with the product and environmental conditions.
Preparation Matters More Than the Application
It is tempting to spend most of the planning time choosing a color or texture, but the condition of the bed has a much greater effect on the result. A liner cannot compensate for oil, loose paint, unstable rust or moisture trapped under the coating. If the bed needs metal repair, complete that work before treating the liner installation as a cosmetic project.
Manufacturer instructions should take priority over generic advice. Some systems are intended for bare metal, some can be applied over properly prepared painted surfaces, and some rust-control systems are designed for stable rust. The substrate, primer and liner must be compatible.
Choosing the Right Time and Place
Temperature, humidity, ventilation and cleanliness all matter. A dusty driveway, damp morning or extremely hot metal surface can make application harder and can change drying or curing behavior. Check the product’s permitted application conditions before opening the kit.
Plan enough uninterrupted time to complete the preparation and application stages without rushing. If the product has a limited working time after mixing, have masking, tools and access to the bed ready beforehand.
What About the Tailgate?
Decide whether the tailgate should be coated as part of the system. Some products and installation methods include the inside of the tailgate, while others focus only on the bed box. If you coat it, use the same preparation and masking discipline as the main bed.
After Installation: Protect the New Surface
The first few days are not the time for maximum abuse. Follow the manufacturer’s return-to-service instructions and avoid dragging sharp or extremely heavy objects across a newly cured surface until it has reached its specified condition.
Once the bed is in service, inspect high-wear areas occasionally. A liner is a protective layer, not an excuse to ignore deep cuts, lifting edges or corrosion underneath.
DIY vs. Professional Installation
A DIY installation can make sense when the bed is sound, the product is designed for home application, and you can follow the preparation and safety requirements carefully. Professional installation becomes more attractive when the coating requires specialized equipment, the bed needs metal repair, or you want a professionally warranted application.
The key difference is not simply who holds the applicator. Professional preparation, controlled application conditions and experience with the specific coating can reduce the risk of adhesion, texture and coverage problems.
Bottom Line
The most important part of learning how to install a truck bed liner is understanding that preparation determines the quality of the finished coating. Clean thoroughly, remove unstable corrosion, prepare the surface exactly as instructed, mask carefully, apply controlled coats, and give the liner enough time to cure before putting the truck back to work.