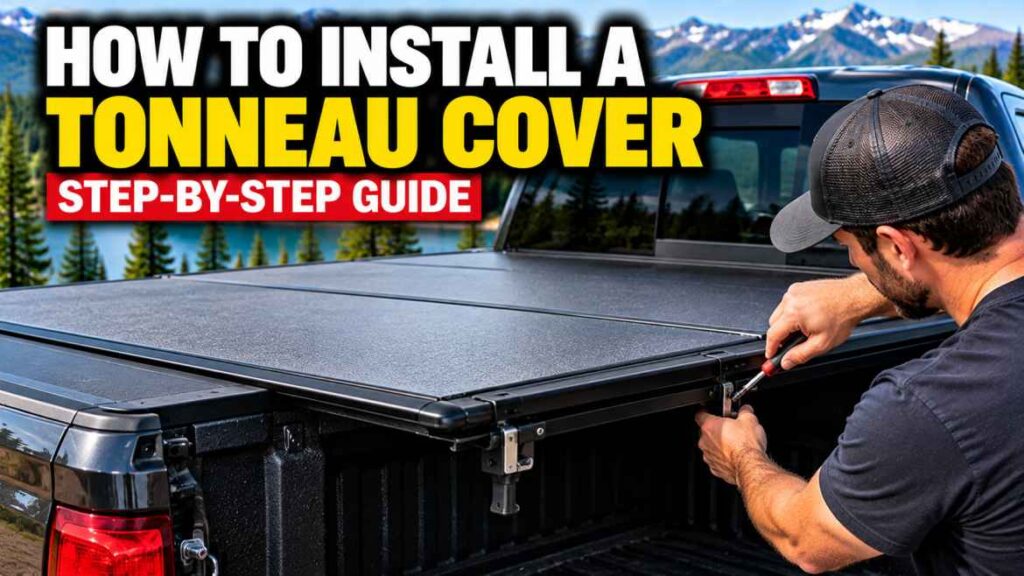
Installing a tonneau cover is often a manageable driveway project, but the process is not simply “put the cover on and tighten the clamps.” Alignment, seals, bed-rail clearance, and the exact hardware supplied with the cover all matter.
Most modern tonneau covers are designed for DIY installation, often with basic hand tools and clamp-on hardware. The general sequence is: confirm fitment, clean and inspect the bed rails, lay out the hardware, install seals and rails, leave the clamps loose while you align everything, attach the cover, adjust the latches or tension, install drainage tubes when supplied, and test the cover before driving. The manufacturer’s instructions always take priority because installation differs by cover type and truck.
Before You Start
Do not begin by unpacking hardware and guessing where it goes. First confirm that the cover is intended for your exact truck. A correct installation cannot overcome an incorrect application.
Check the model year, make, model, cab, bed length, tailgate design, bed liner, factory rails, toolbox, rack, RamBox-style storage, and other equipment against the manufacturer’s fitment information.
If you are unsure of your bed length, use our truck-bed measurement guide before installation.
Tools and Supplies
The exact list varies, but many clamp-on systems require only ordinary hand tools.
- Socket or wrench set
- Phillips or flat screwdriver if specified
- Tape measure
- Utility knife or scissors for approved seal trimming
- Work gloves
- Eye protection
- Clean cloth or mild automotive soap
- A second person for heavy or awkward covers
Do not substitute hardware or change clamp locations simply because another cover used a different setup. Use the supplied hardware and tightening or torque instructions for your model.
Confirm Fitment First
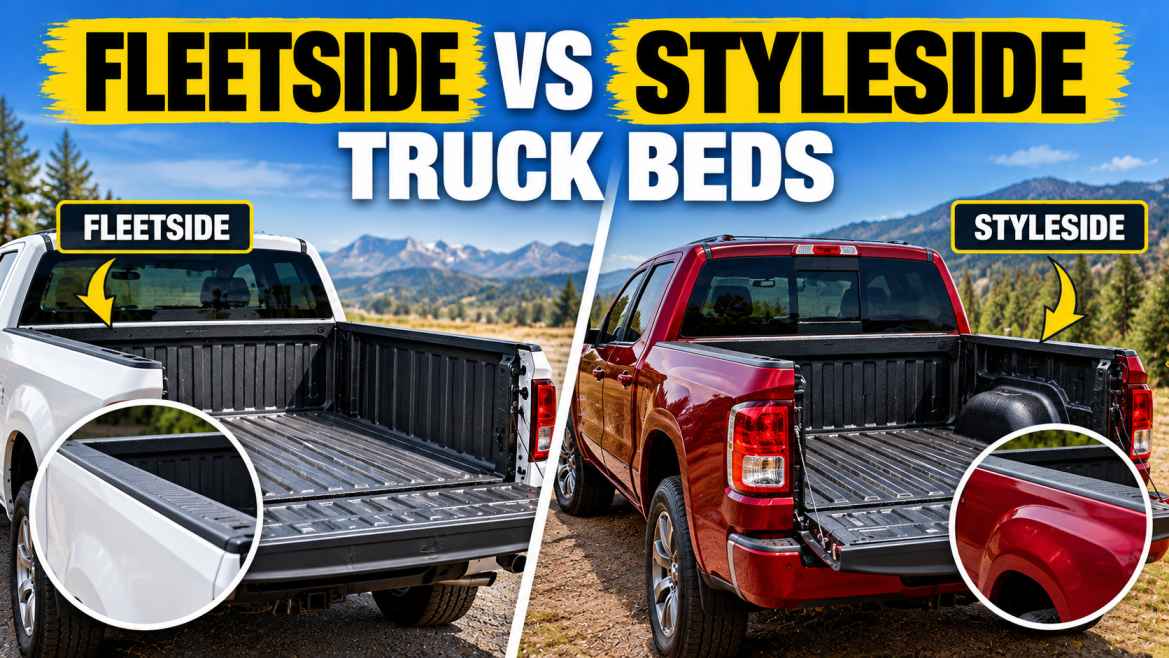
A tonneau cover is a vehicle-specific accessory. Even two trucks with the same advertised bed length can have different rail shapes, tailgates, factory tracks, or accessory clearances.
Before opening the packaging, compare the part number and fitment list with your truck. If the cover arrived with a vehicle-specific hardware kit, make sure that kit matches the truck.
This is particularly important if you have a drop-in bed liner, over-rail liner, bed rack, toolbox, special tailgate, or factory cargo-management system.
Prepare the Truck
Clean the mounting surfaces
Wash or wipe the bed rails and the areas where seals or clamps will sit. Dirt between a rail and seal can create a gap or prevent the hardware from sitting squarely.
Inspect the rails
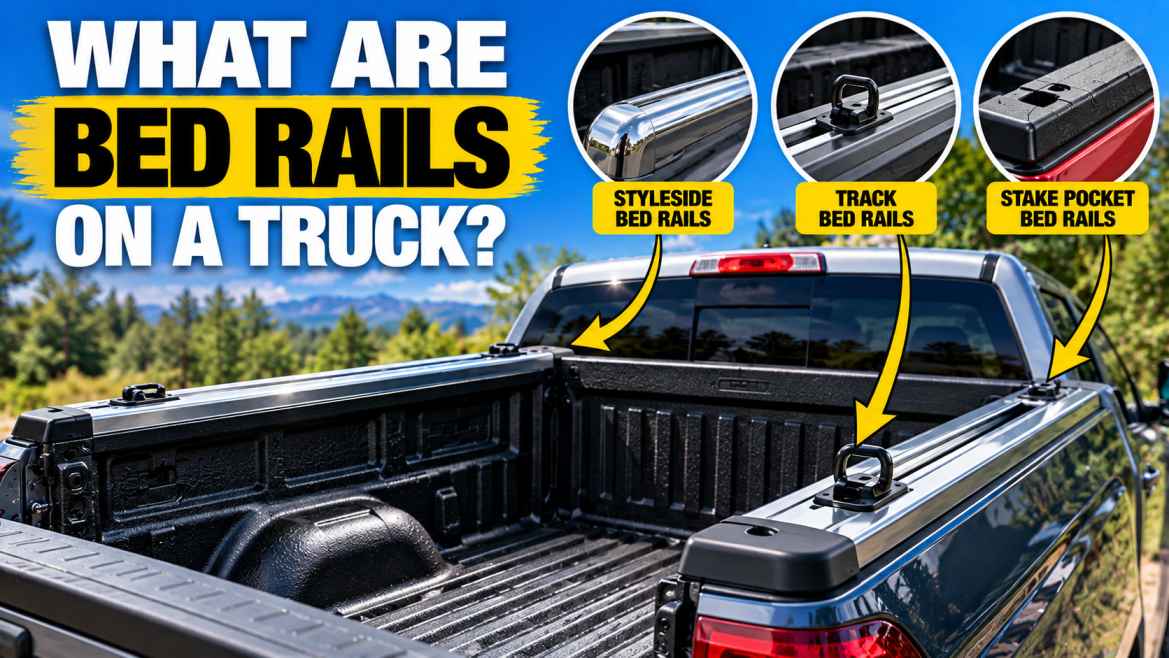
Look for bent rail caps, damaged plastic, loose factory trim, or accessories occupying the mounting area. Resolve clearance problems before fitting the cover.
Work on level ground
A level surface makes alignment easier and makes it easier to see whether both side rails sit at comparable heights.
Inventory the parts
Lay out the rails, clamps, seals, brackets, drains, straps, and cover. Compare them with the supplied parts list before you begin.
Step-by-Step Installation
1. Install the front seal or bulkhead seal
Some systems use a seal along the front bulkhead. Install it exactly where the instructions show it. The seal is part of the weather-management system, so do not omit it because the cover appears to fit without it.
2. Position the side rails
Set the left and right rails in their approximate positions. Keep them loose enough to move while you align the cover. Do not fully tighten one side while the other side is still being positioned.
3. Square the rails
Check that the rails run parallel and sit in the intended position from front to rear. A rail that is slightly skewed can create latch misalignment, uneven sealing, panel binding, or wind noise.
4. Install the clamps
Place each clamp where the manufacturer’s instructions specify. Tighten gradually rather than locking one clamp down while the others are loose. After tightening, recheck rail position because clamps can shift the rail as they seat.
5. Place the cover on the rails
With a folding or one-piece cover, position the cover according to the front/rear orientation in the manual. Heavy covers may require a helper. Avoid dragging a rigid cover across painted surfaces or bed rails.
6. Connect the cover hardware
Attach hinges, brackets, latches, tensioners, buckles, or other supplied hardware according to the specific instructions. Some systems are largely preassembled; others require several small adjustments.
7. Align the rear edge
Close the cover and check its relationship with the tailgate. The exact gap varies by design, so use the manufacturer’s specified clearance rather than copying a measurement from another cover.
8. Adjust tension or latches
Roll-up covers often use tension adjustment. Folding and rigid covers may have latch or striker adjustments. Make small changes, then cycle the cover again. Do not overtighten hardware in an attempt to force a misaligned cover into place.
9. Install drain tubes when supplied
Retractable and some folding systems route water collected in rails or channels away from the bed. Route the tubes exactly as instructed and ensure they are not kinked or blocked.
10. Cycle the cover several times
Open and close the cover fully. Check for binding, rubbing, uneven gaps, latches that fail to engage, or rails that move. Correct problems before driving.
How Installation Changes by Cover Type
| Cover type | Typical installation focus | Common concern |
|---|---|---|
| Soft roll-up | Rails, clamps, seals, tension | Uneven tension or loose attachment |
| Soft folding | Rails, clamps, hinges, latches | Uneven panel alignment |
| Hard folding | Rails, clamps, hinges, latches, supports | Weight and panel alignment |
| Retractable | Side tracks, housing, drains, latch | Track alignment and drainage |
| One-piece hinged | Hinges, mounting brackets, lift hardware | Weight and opening clearance |
For product-category examples, see our roll-up cover guide, hard folding guide, and retractable guide.
Bed Liners and Other Accessories
A spray-in bed liner usually follows the original bed contours closely, but a drop-in liner can change the available mounting space. Some cover kits require trimming or specific clearance around the rail. Never cut a liner simply because another cover required it; follow the instructions for your exact cover.
Toolboxes, bed racks, cargo rails, bed caps, auxiliary tanks, and other accessories can also occupy the same mounting area. If two accessories compete for the same rail space, the solution may be a compatible bracket or a different product—not more force.
Final Testing
Check every latch
Each latch should engage fully and release normally. If one side is harder to latch than the other, stop and investigate alignment.
Check the seals
Inspect perimeter seals for obvious folds, pinches, gaps, or sections that have pulled away from the intended contact surface.
Check the tailgate
Make sure the tailgate opens and closes without hitting the cover or its hardware. Some cover designs have specific instructions about whether the tailgate must be closed before the cover.
Use a gentle water test if appropriate
A low-pressure hose can help identify obvious gaps. Do not use a pressure washer directly against seals and joints. A water test is not proof that the cover is completely waterproof under every driving condition.
Recheck after a short drive
After the first drive, inspect the clamps, rails, latches, and seals again. Vibrations can reveal a problem that was not obvious while the truck was parked.
Common Installation Mistakes
- Tightening the first side too early: this can make it difficult to square the opposite rail.
- Ignoring bed-liner clearance: a liner can interfere with clamps or seals.
- Skipping the front seal: the cover may look installed while its weather-management system is incomplete.
- Forcing a latch: hard-to-close latches often indicate alignment problems.
- Overtightening clamps: more force is not automatically better and can damage hardware or bed components.
- Leaving drains kinked: a blocked drain defeats the purpose of the drainage system.
- Driving before the cover is secured: every latch, strap, clamp, and open-cover support must be in its specified operating position.
When to Hire a Professional
Professional installation can make sense if the cover is heavy, electrically powered, unusually complex, requires drilling, or must work around several existing accessories. It is also reasonable if you do not have the tools or confidence to verify alignment.
DIY installation is not automatically better or worse. The important issue is whether the finished installation matches the manufacturer’s instructions and operates safely.
Frequently Asked Questions
Can I install a tonneau cover myself?
Often yes. Many modern clamp-on covers are designed for DIY installation, but the difficulty varies substantially by cover and truck.
Do tonneau covers require drilling?
Many do not, but some systems do require drilling or vehicle-specific modifications. Never assume a cover is no-drill without checking its instructions.
How long does installation take?
Many simple covers can be installed in under an hour, while heavier, retractable, powered, or more complicated systems can take longer. Treat the manufacturer’s stated installation time as a guide, not a guarantee.
Can I install a tonneau cover over a bed liner?
Often yes, but the liner type and the cover’s mounting design matter. Check clearance requirements before installation.
What if the cover does not line up?
Stop and recheck the rails, clamps, fitment, and instructions. Do not force latches or panels into position.
Tonneau Cover Installation Troubleshooting
The cover sits crooked
Recheck the side rails and measure the front-to-rear position on both sides. Do not try to correct a crooked cover by forcing the tailgate-side latch.
One latch will not engage
A latch that closes easily on one side but not the other usually deserves an alignment check. Inspect the rail position, striker or latch location, and panel seating before tightening anything further.
There is a gap at the front
Check the bulkhead seal, front rail position, and the manufacturer’s specified installation location. A gap is not automatically fixed by adding extra weather stripping.
The cover flaps while driving
On soft roll-up designs, check the tensioning system, hook-and-loop attachment, and all required fasteners. Do not continue driving with a cover that is not securely restrained.
Water reaches the bed
First check installation and seals. Also inspect drain tubes if the system uses them. A tonneau is normally weather-resistant rather than guaranteed waterproof, so the goal is to correct abnormal gaps and drainage problems rather than promise zero water under every condition.
Removing a Tonneau Cover Later
Think about removal before installing the cover. Some soft covers can be detached relatively quickly, while heavy hard covers may require two people and a safe storage location. Retractable systems can leave a canister or housing permanently installed even when the cover is open.
If you regularly carry tall cargo, choose a cover whose opening or removal system matches that routine. A cover that is technically removable but difficult to remove may become inconvenient in daily use.
Post-Installation Checklist
| Check | What good looks like |
|---|---|
| Fitment | Correct truck, bed, and hardware application |
| Rails | Parallel, seated correctly, and secure |
| Clamps | Installed at the specified locations and tightened as instructed |
| Seals | Continuous, correctly positioned, and not pinched |
| Latches | Engage and release normally on both sides |
| Tailgate | Opens and closes without interference |
| Drains | Connected and unobstructed where supplied |
| Open position | Secured exactly as the manual specifies |
Bottom Line
A successful tonneau-cover installation is mostly about correct fitment, careful rail alignment, even clamp pressure, proper seals, and a final function check. Follow the exact manual for your cover, and do not force hardware when something does not line up. A few extra minutes spent aligning the system can prevent leaks, rattles, latch problems, and premature wear.